Elasticated Garters Tutorial
- Aisha
- Feb 3
- 3 min read
Hello darlings!
It's my birthday month, so I thought I'd share a little free tutorial to celebrate!
These garters are perfect for practicing and developing hand-embroidery and sewing skills, culminating in a finished product that doesn’t take much time to complete. A beautiful and practical project, you can easily expand your historical wardrobe with handmade pieces that are hard not to be proud of.

A Brief History:
Garters have been keeping up stockings since the 18th century, from simple lengths of ribbon tied around the leg to elaborately embroidered styles like this one. For the sake of historical accuracy, elasticated garters would only have been available in the latter part of the 19th century, the patent for elastic only being taken out in 1820 and vulcanisation in 1844.

You will need:
· White cotton scraps
· Coloured embroidery thread
· Trouser hooks
· Elastic (1” wide)
· [Optional] Embroidery hoop

1. Choose your embroidery design.

You can find designs at the end of the post, or you can draw your own to these specifications (seam allowance not included). If you need inspiration, you can check out my pinterest board here.

2. Trace the embroidery design onto your fabric.
You can use a light box or trace by holding your pattern against a window.
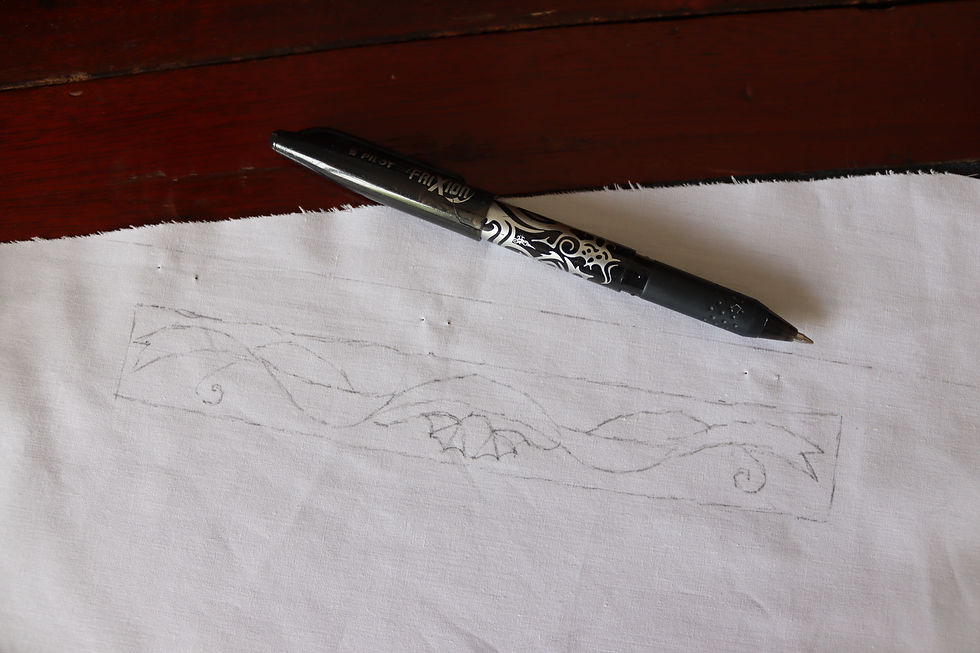
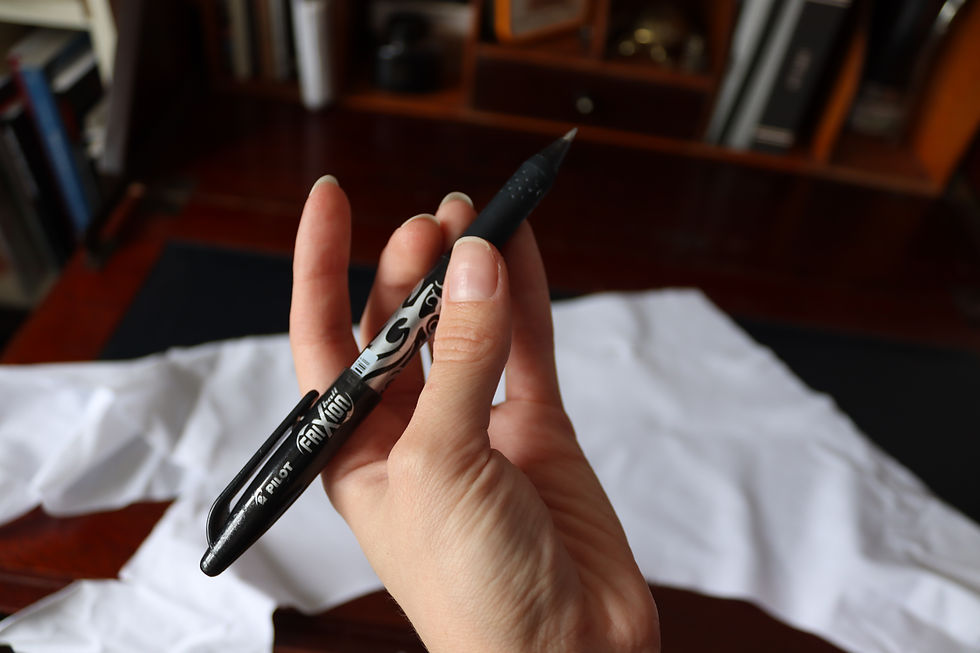
A frixion pen is really useful when transferring patterns. You get a nice fine line and the marks vanish with the heat from an iron. If you’re tracing onto dark fabric you can use carbon paper to trace the design instead.
3. Embroider your design.

If you’re using an embroidery hoop, don’t cut out your traced design just yet, leave enough excess fabric to stretch around the hoop. This is optional- it’s equally acceptable to embroider freehand!

4. Cut out your fabric.

Don’t forget to add a 1.5cm seam allowance around the edge of the embroidery panels.

You need to cut out:
x2 backs (23cm x 5.5cm- the same size as the embroidery panels)
x2 lengths of elastic (see next page)
x4 elastic casing pieces


5. [Optional] Assign a right and left piece.
This style of garter looks very neat when made mirrors of one another. However, if you want to simplify the whole operation, you can make them both the same way.

6. Pin the back to the front with right sides facing in.

7. Stitch along the long sides of the embroidered panel.

You can now put this to the side as we work on the elastic and casing.
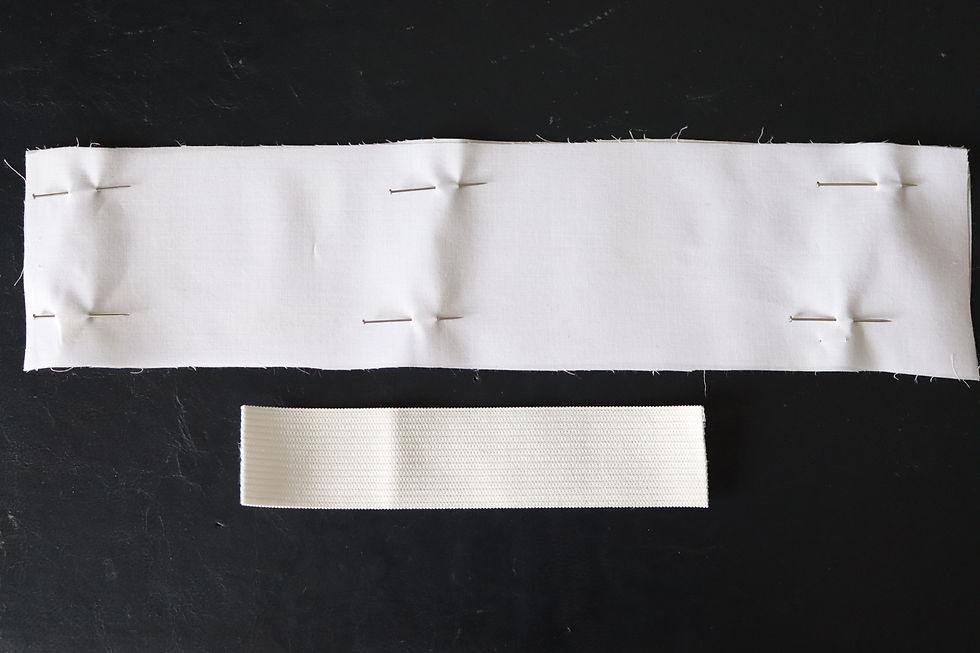
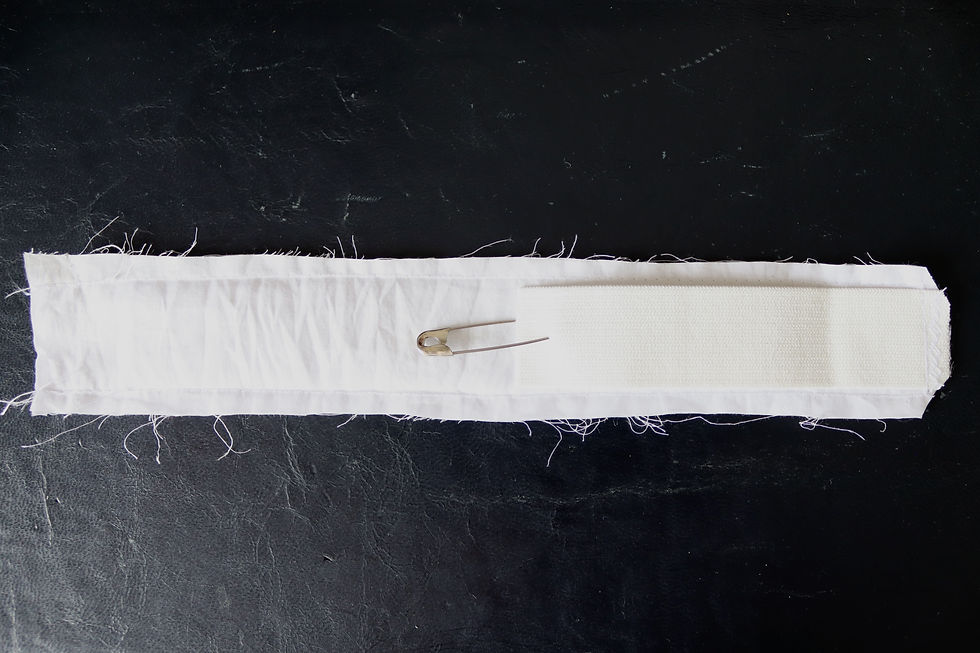
8. Stitch along the long sides of the casing.
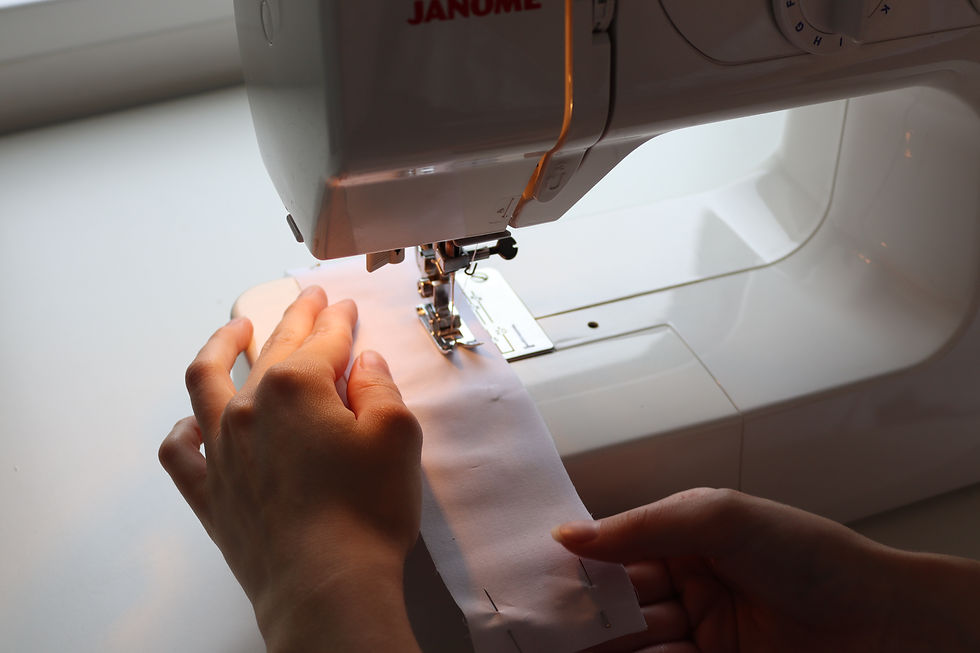
Trim down the seam allowance of the casing.


Attach a safety pin to one side of the elastic and pin the other side to the casing.

9. Stitch the elastic to the casing.
Stitch through all the layers. A straight stitch, with a few zig-zag stitches on the inside of the seam allowance, keeps the elastic nice and secure.
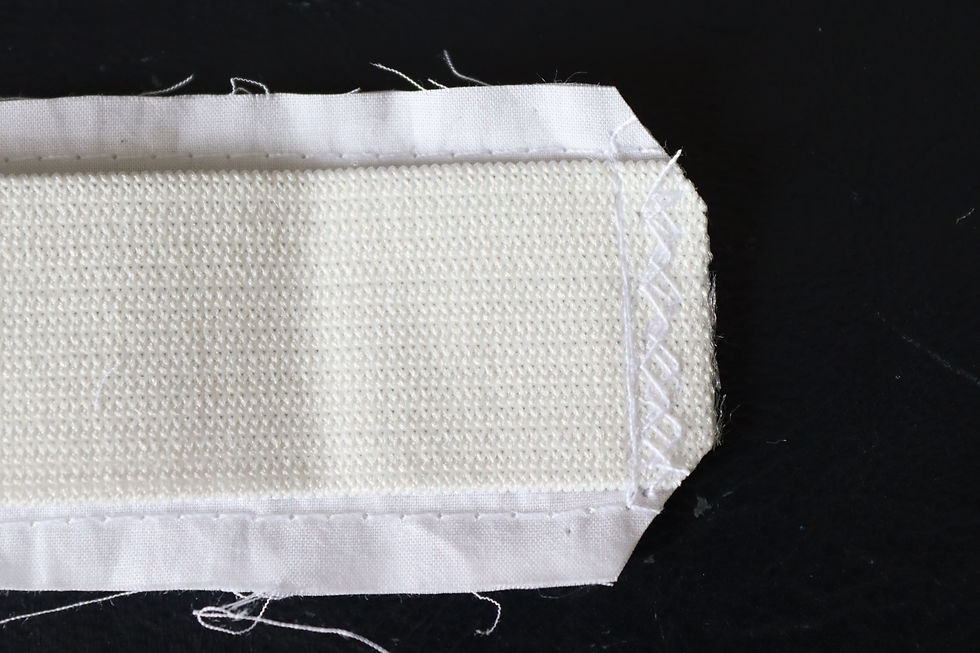
Turn the casing inside out.

The elastic should now be sandwiched between the two layers with the safety pin still attached.

10. Gather up the casing using the safety pin.

Fix the elastic in place with a straight stitch before taking out the safety pin.

Attach the safety pin to the other end of the elastic (the ‘neat’ end) and thread it through the embroidered panel until the ends match up.

If you are doing lefts and rights, make sure the elastic is on the correct side.

11. Stitch the elastic to the embroidered panel.
Do in the same way as with the elastic, a straight stitch strengthened with a few zig-zags.

Now for the satisfying bit!
12. Pull the elastic through using the safety pin.

Be careful not to catch any of the embroidery in the process.

13. Slip stitch the unbound edge closed.

14. Attach the fastenings.
Trouser hooks work nicely as garter fasteners. Stitch the ‘hook’ underneath the embroidered panel and the ‘bar’ on top of the elasticated edge. If you find that your stockings are slipping down over the course of the day, you may need to make your garters tighter, which you can do very easily by unpicking and re-stitching the bar further in.

Finished!


Garter Patterns

Traceable Garter Patterns

Hope you enjoyed this tutorial! If you did, please consider 'purchasing' it on my Etsy, and checking out my other tutorials and Patreon page.
Until next time,
Aisha x
Comments